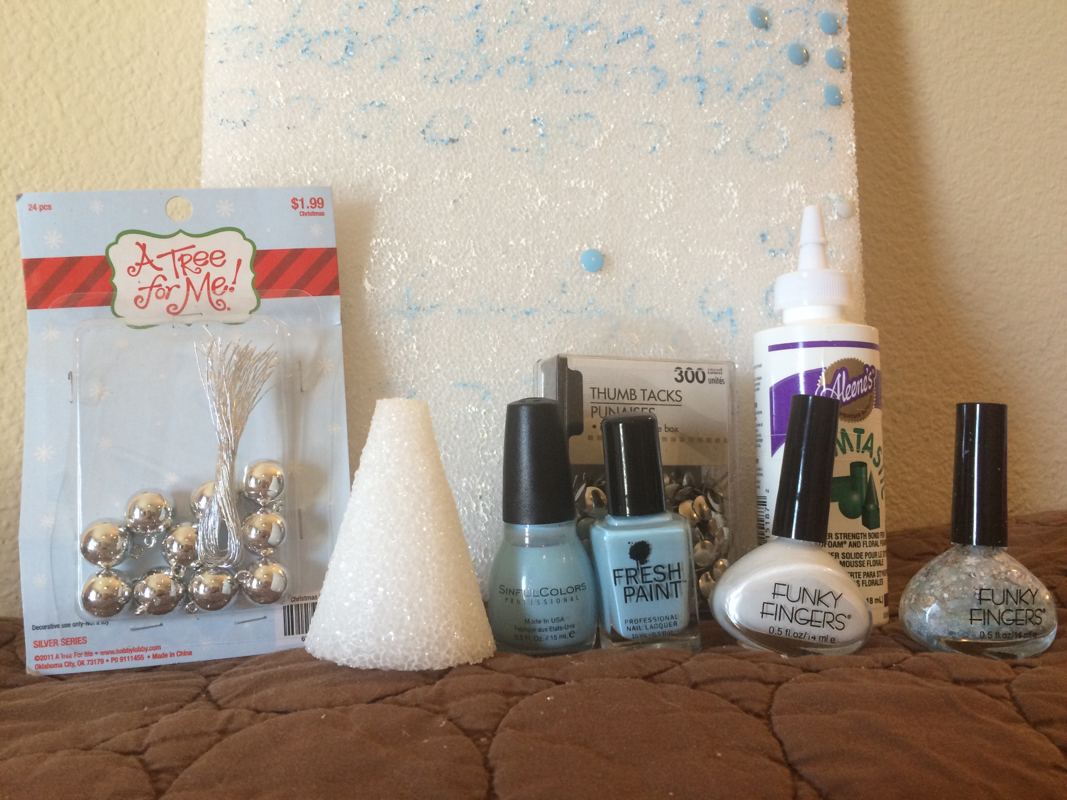
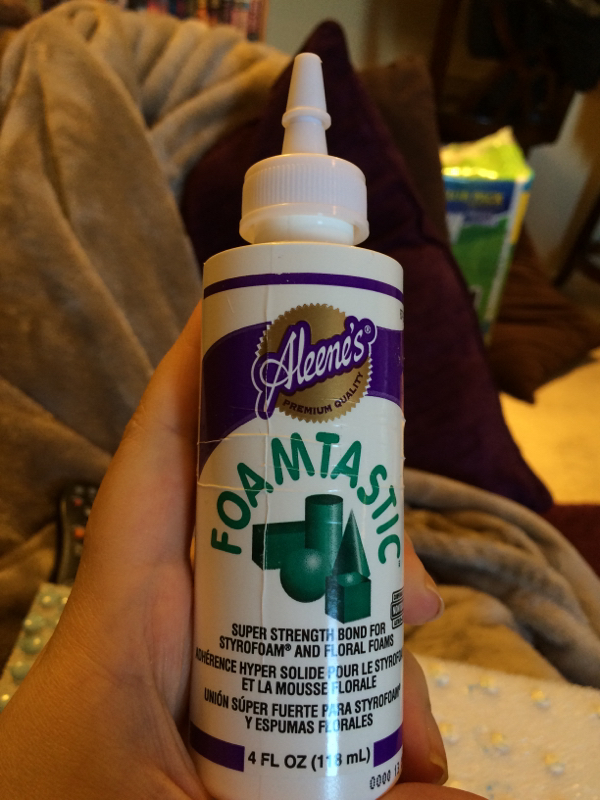
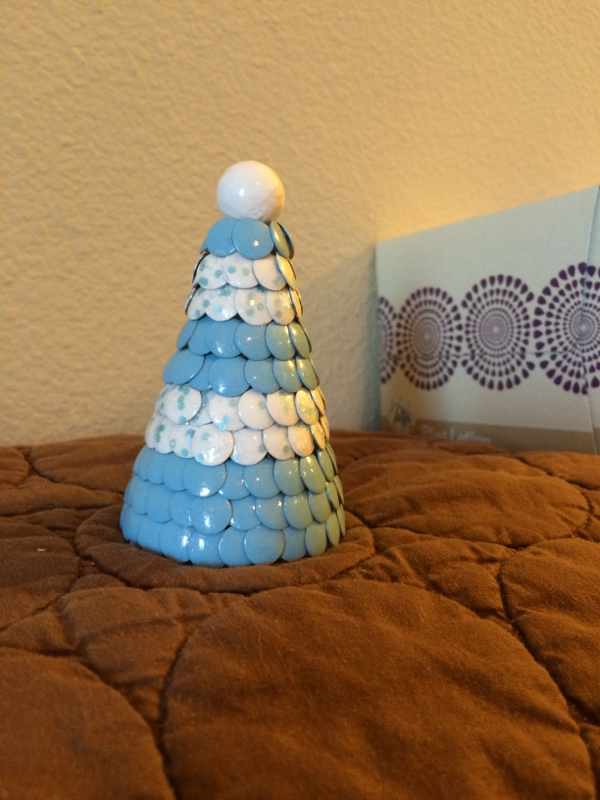
To make a small tree, you will need a small styrofoam cone, glue, a mini ornament for a topper, your desired nail polish colors, something to stick the tacks into while painting, and about 200 thumb tacks.
Here are all of the materials I used.
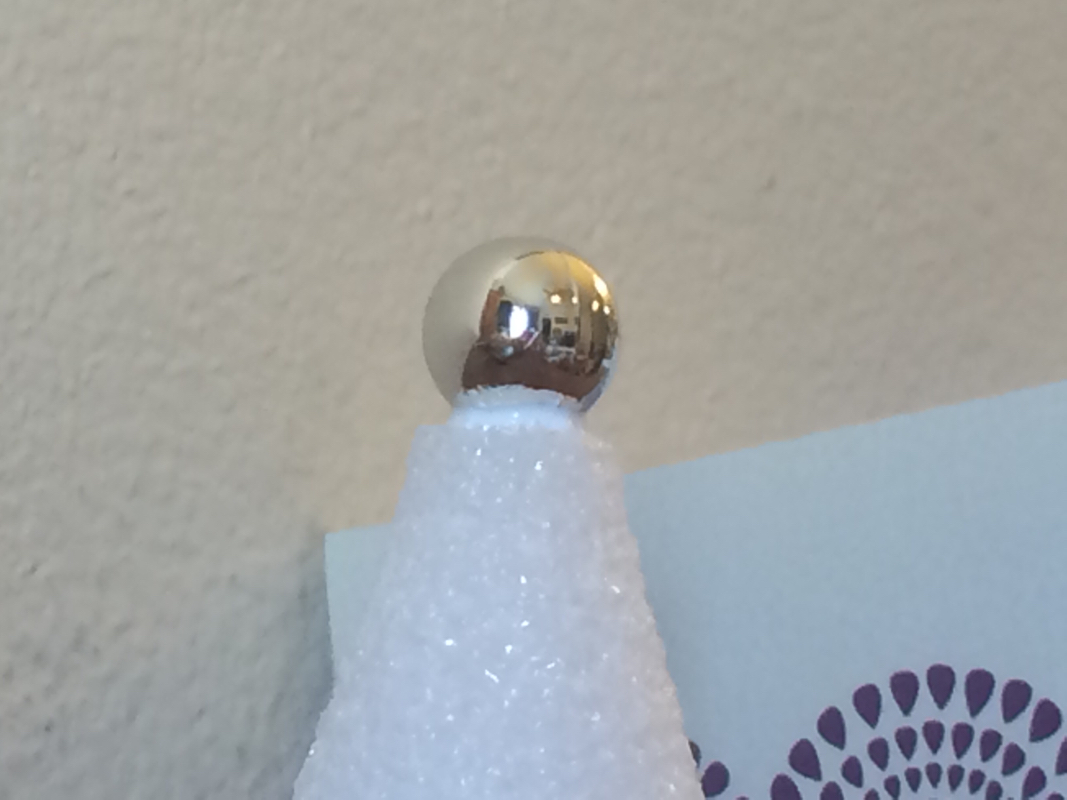
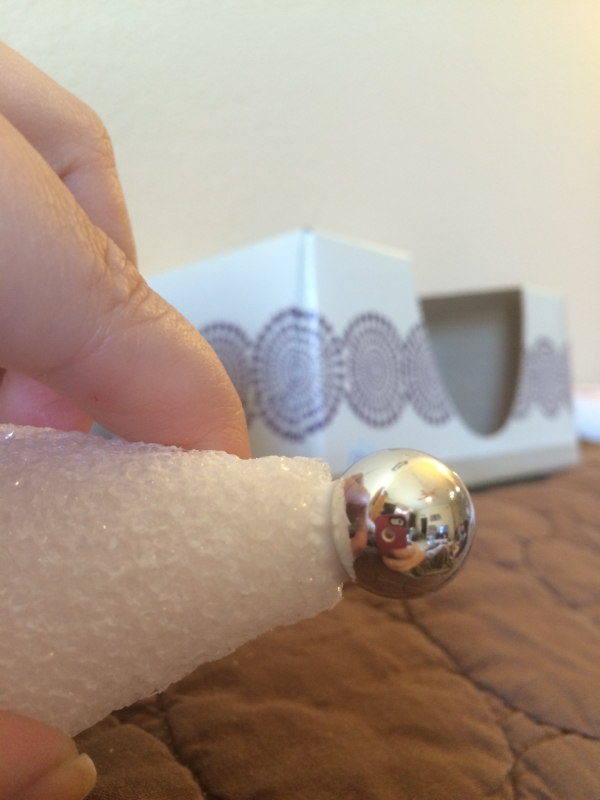
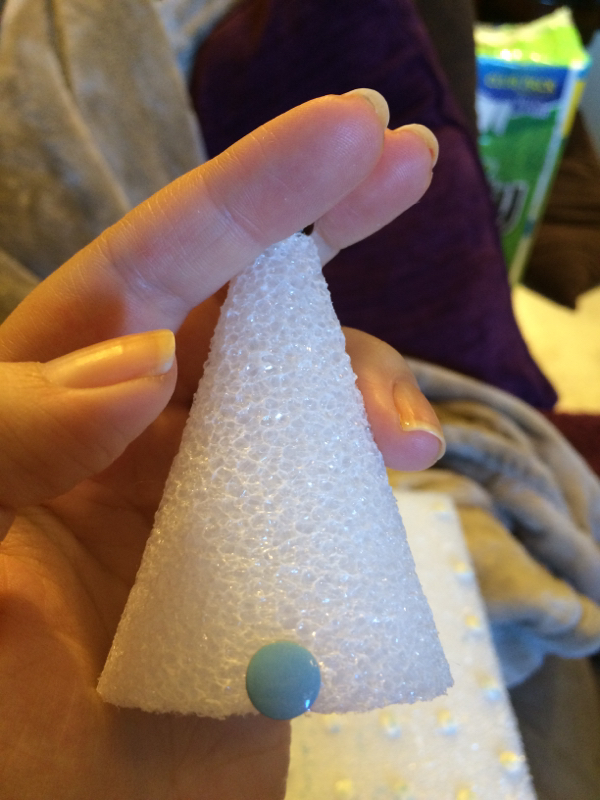
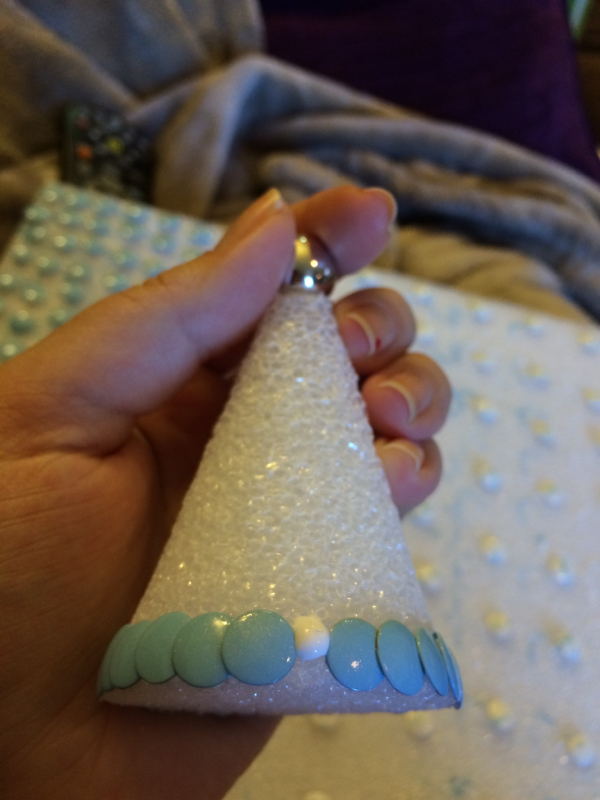
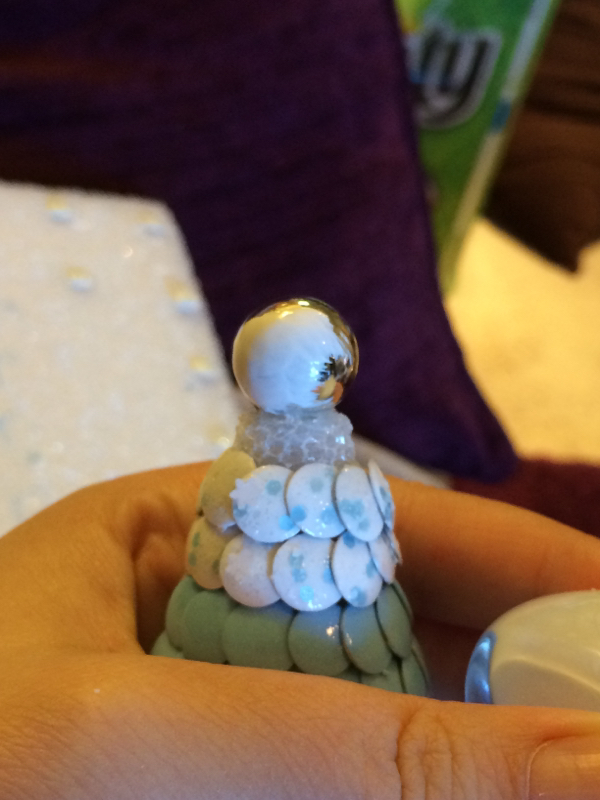
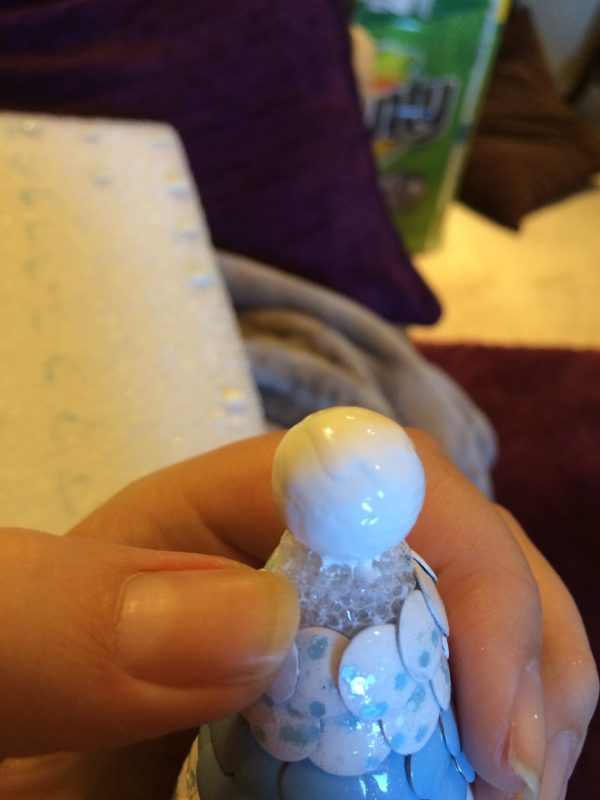
Place a big dot of glue onto the top of the cone.
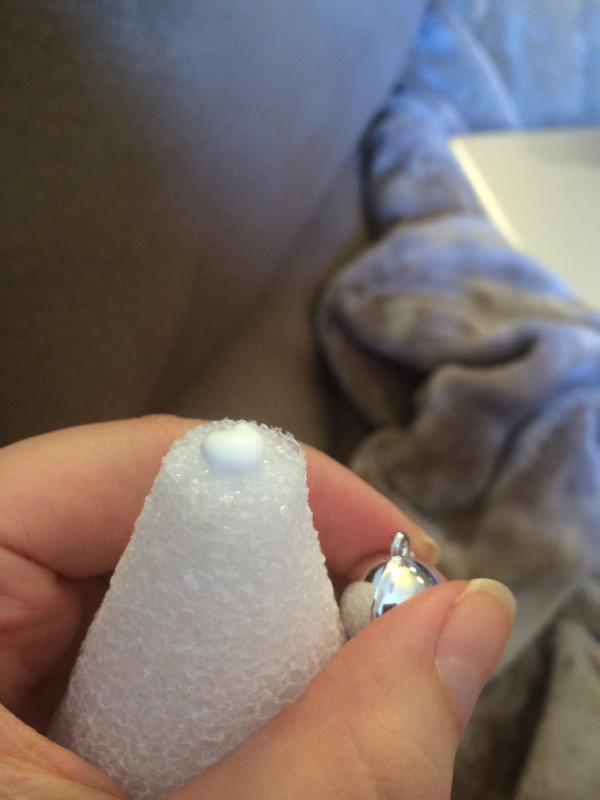
Place the ornament with the hanging loop down. Press down until the loop goes into the styrofoam. This will help secure the topper.
I placed my tacks into a styrofoam board. How closely I place them depends on what method I'm using to paint them. Since I used glitter placement for this tree, they're spaced much further apart than normal for me.
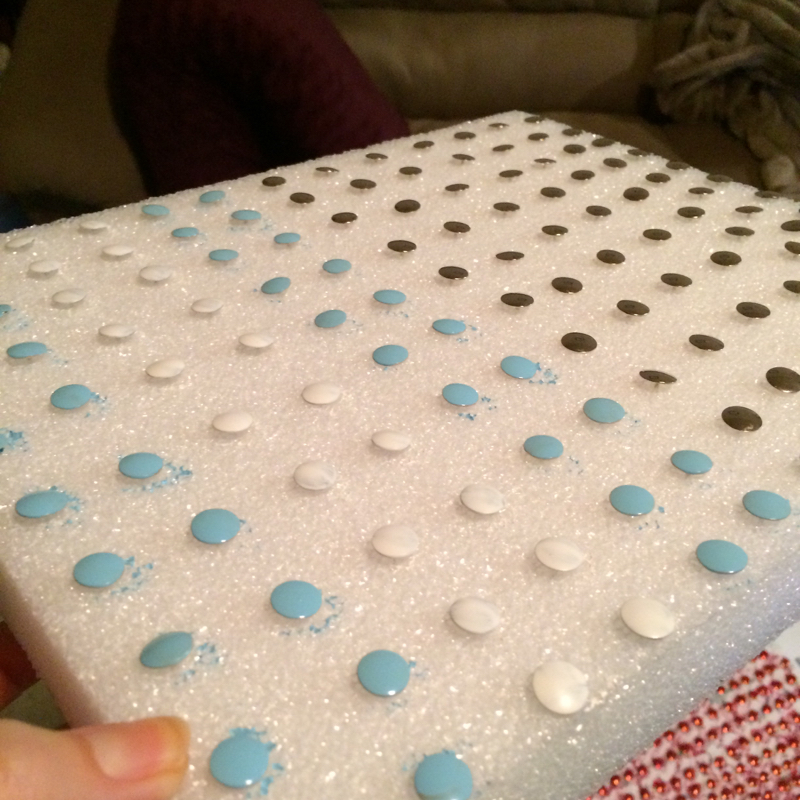
For the white tacks, I used two coats of Funky Fingers Gesso. This again is another thick, opaque polish that makes a great base. After those layers dried, I used a makeup sponge to place Funky Fingers Else onto the tacks. I followed that up with another quick coat of Else using the brush.
You want to make sure to let your tacks dry a little between coats, especially when doing glitter placement. If you're painting a large number of tacks at once, the first ones should be ready to paint again by the time you've finished painting all of them with one coat. Go here for more information on glitter placement.
I also used Fresh Paint Finished (which I forgot to include in the picture) for a clear top coat over the tacks.
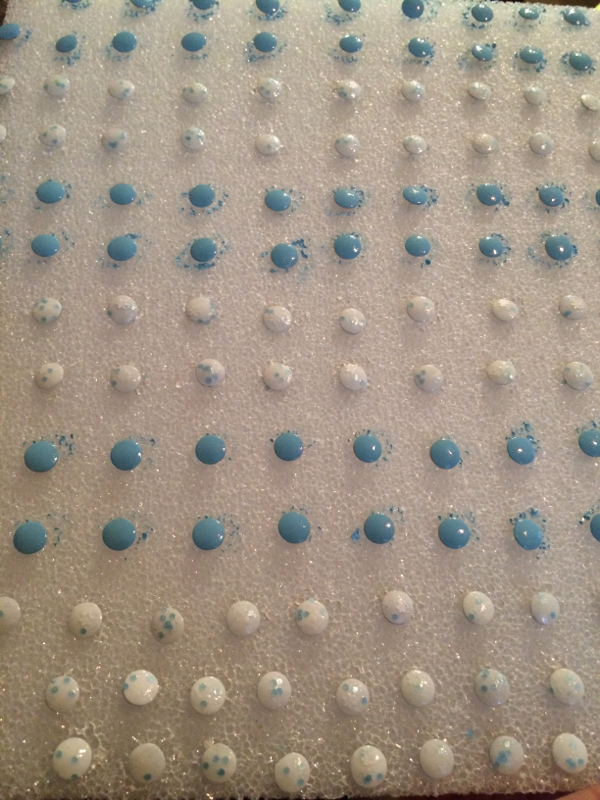
Let your tacks sit until the polish doesn't dent when you push into it with your finger nail. Even if they seen dry, if they still dent a little, they will definitely dent during placement.
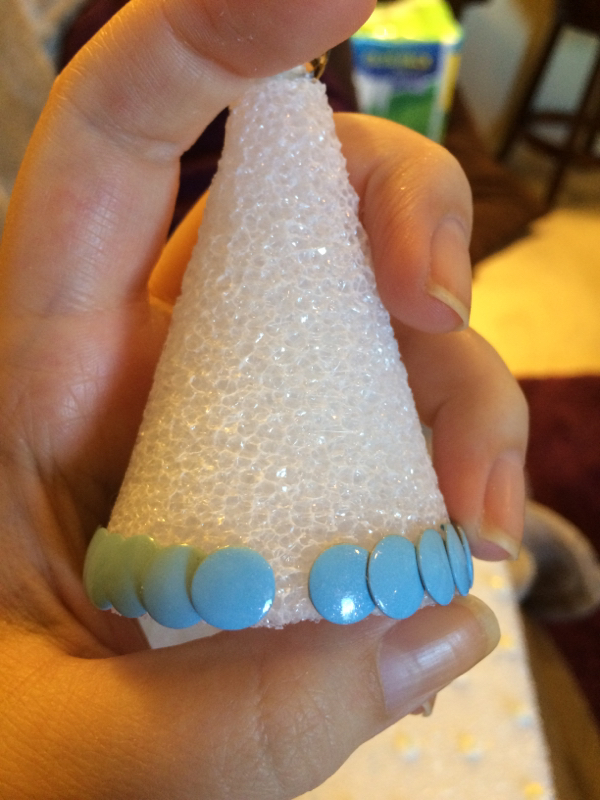
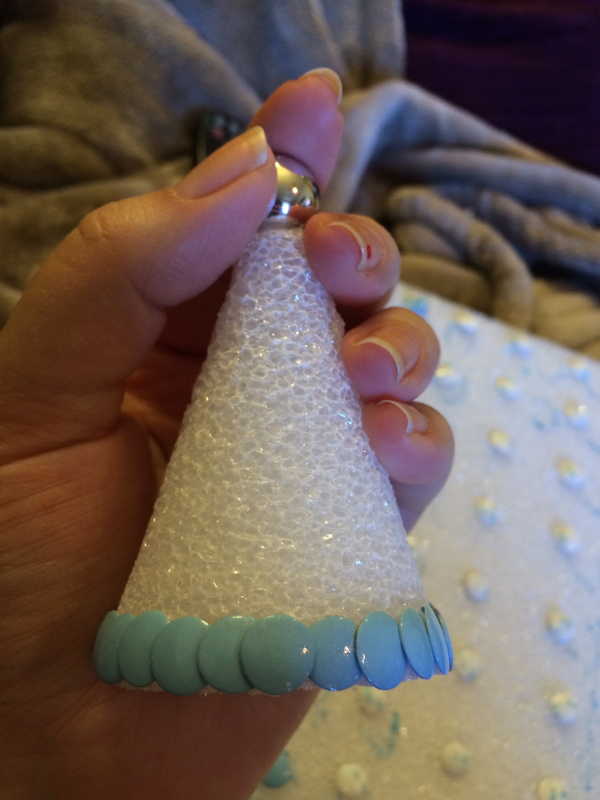
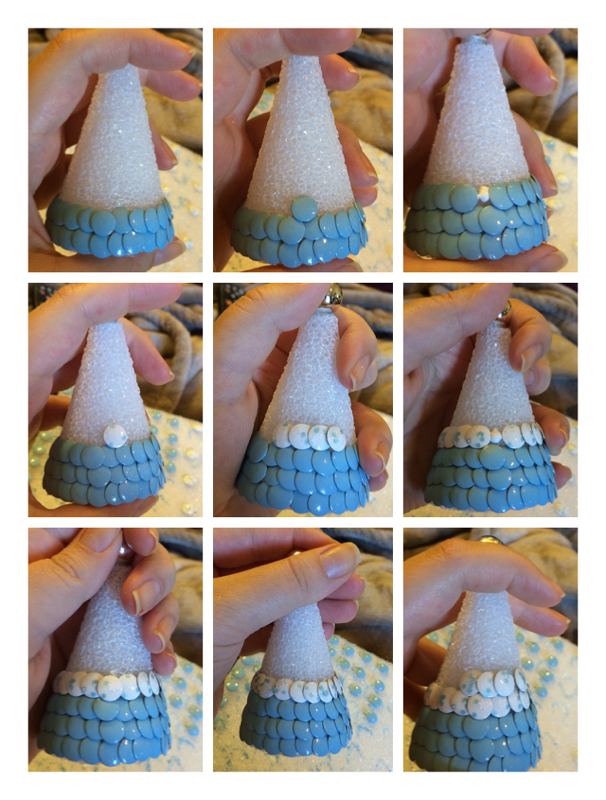
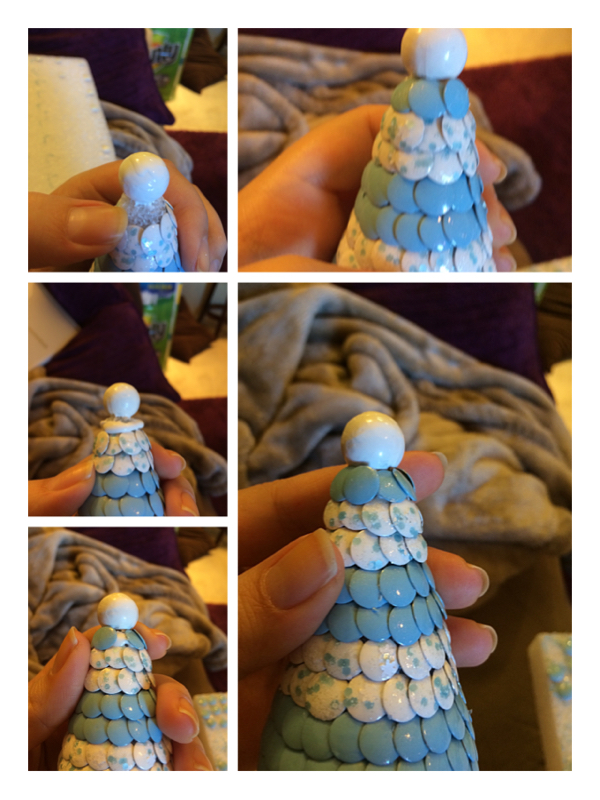
For a tree, you want to line the tacks in rows. Start at the very bottom with your first color.
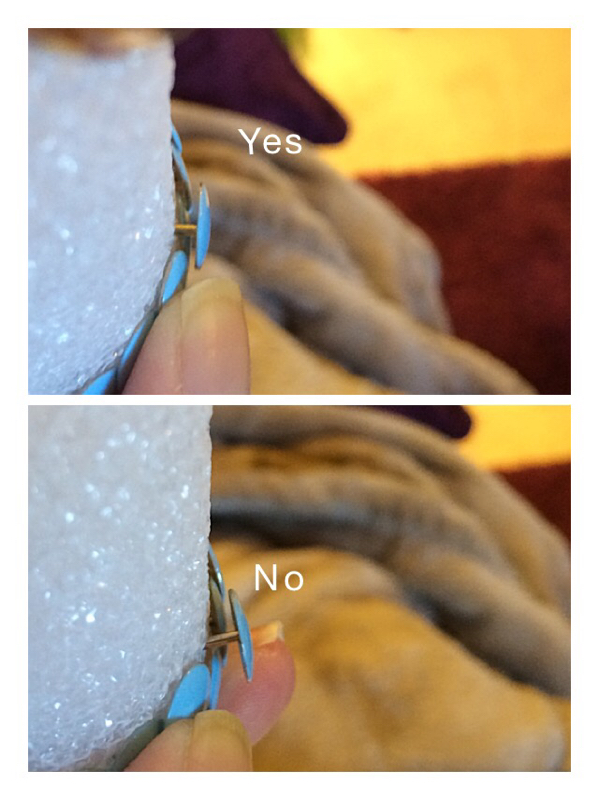
The tacks barely overlap, unlike an egg where you overlap them very closely.
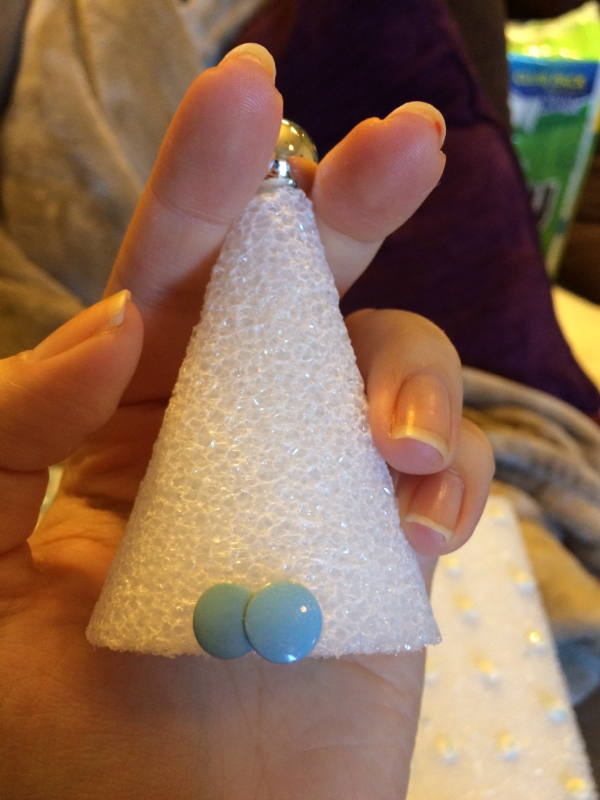
You want to place each tack as closely in line vertically with the one before it as possibly. I move slightly over from the edge of the previous one and try to place the point of my next tack at about the middle of the previous one.
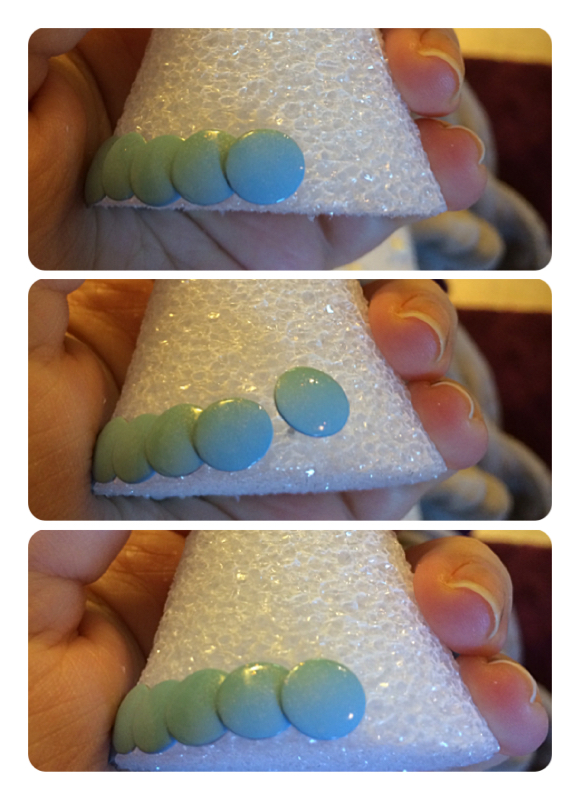
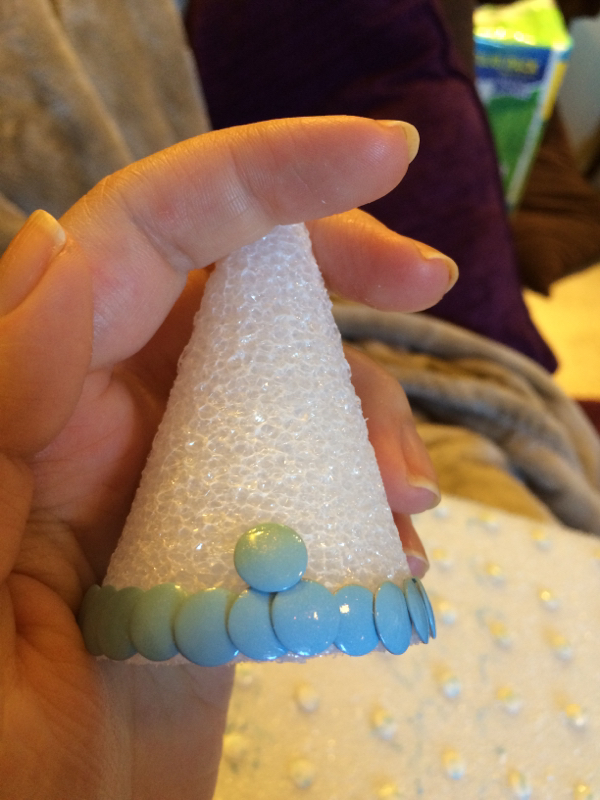
When doing rows (as opposed to the close swirl of the tacks on an egg) you want to be very careful placing the last tack on a row. It should still be right in line with the other tacks in the row, but it will have no tacks overlapping it horizontally.
To help hold this tack in place, I put a dot of glue.
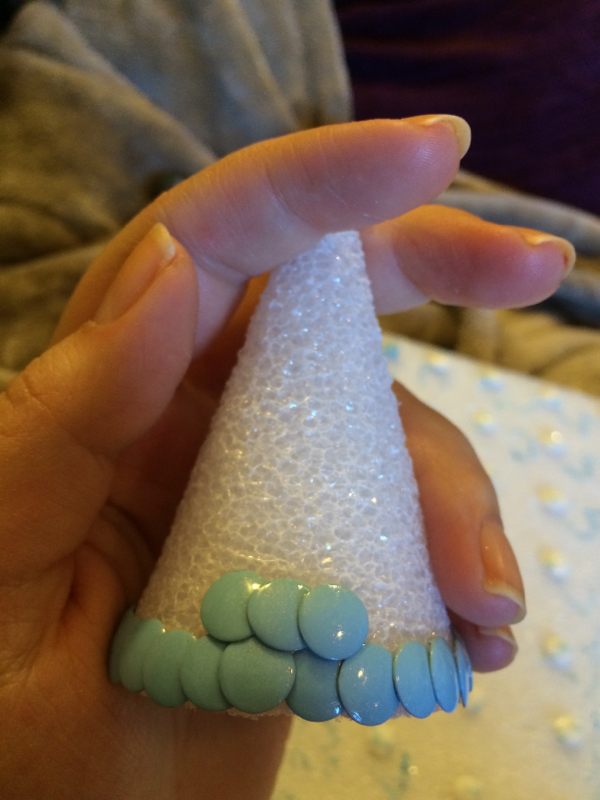
This next row should just barely overlap the one before it.
If your lines aren't perfect, don't worry. Try to keep to the same line even if one of two tacks don't fit it perfectly.
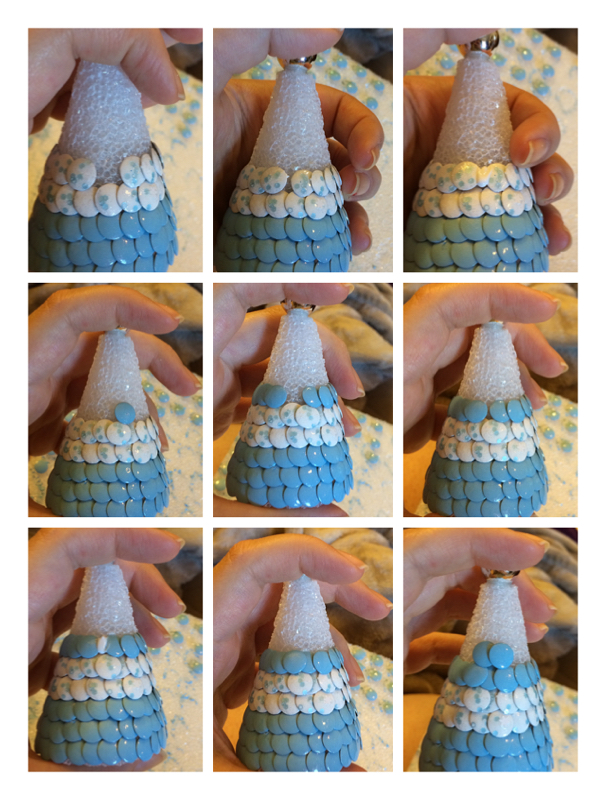
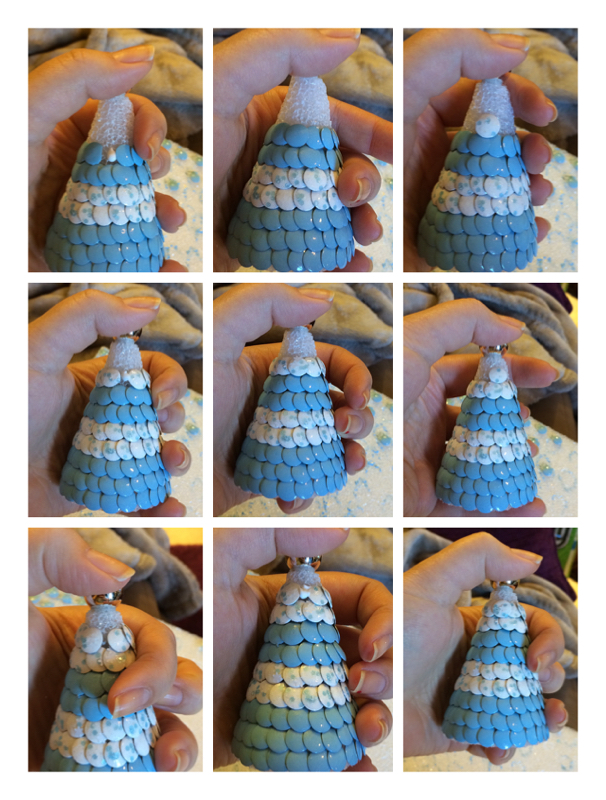
Make sure it dries before you place the last rows of tacks. Otherwise the polish will dent.
Try to gauge how well your tacks will fit for the last row. If it seems like you don't have enough space, make the second to last row overlap the row before a little more.
 RSS Feed
